Dryvit Stucco Installation: A Comprehensive Guide
Introduction
Are you considering enhancing the appearance and durability of your building's exterior? Look no further than Dryvit stucco installation. This versatile and long-lasting exterior finish offers both aesthetic appeal and protection. In this guide, we'll delve into every aspect of Dryvit stucco installation, from its benefits to the installation process, FAQs, and more. Whether you're a homeowner or a contractor, this comprehensive resource will equip you with the knowledge you need for a successful installation.
Dryvit Stucco Installation: A Brief Overview
Dryvit stucco, also known as Exterior Insulation and Finish System (EIFS), is a multi-layered siding system that combines insulation, drainage, and finish elements to provide energy efficiency and protection against the elements. Its installation involves several key steps:
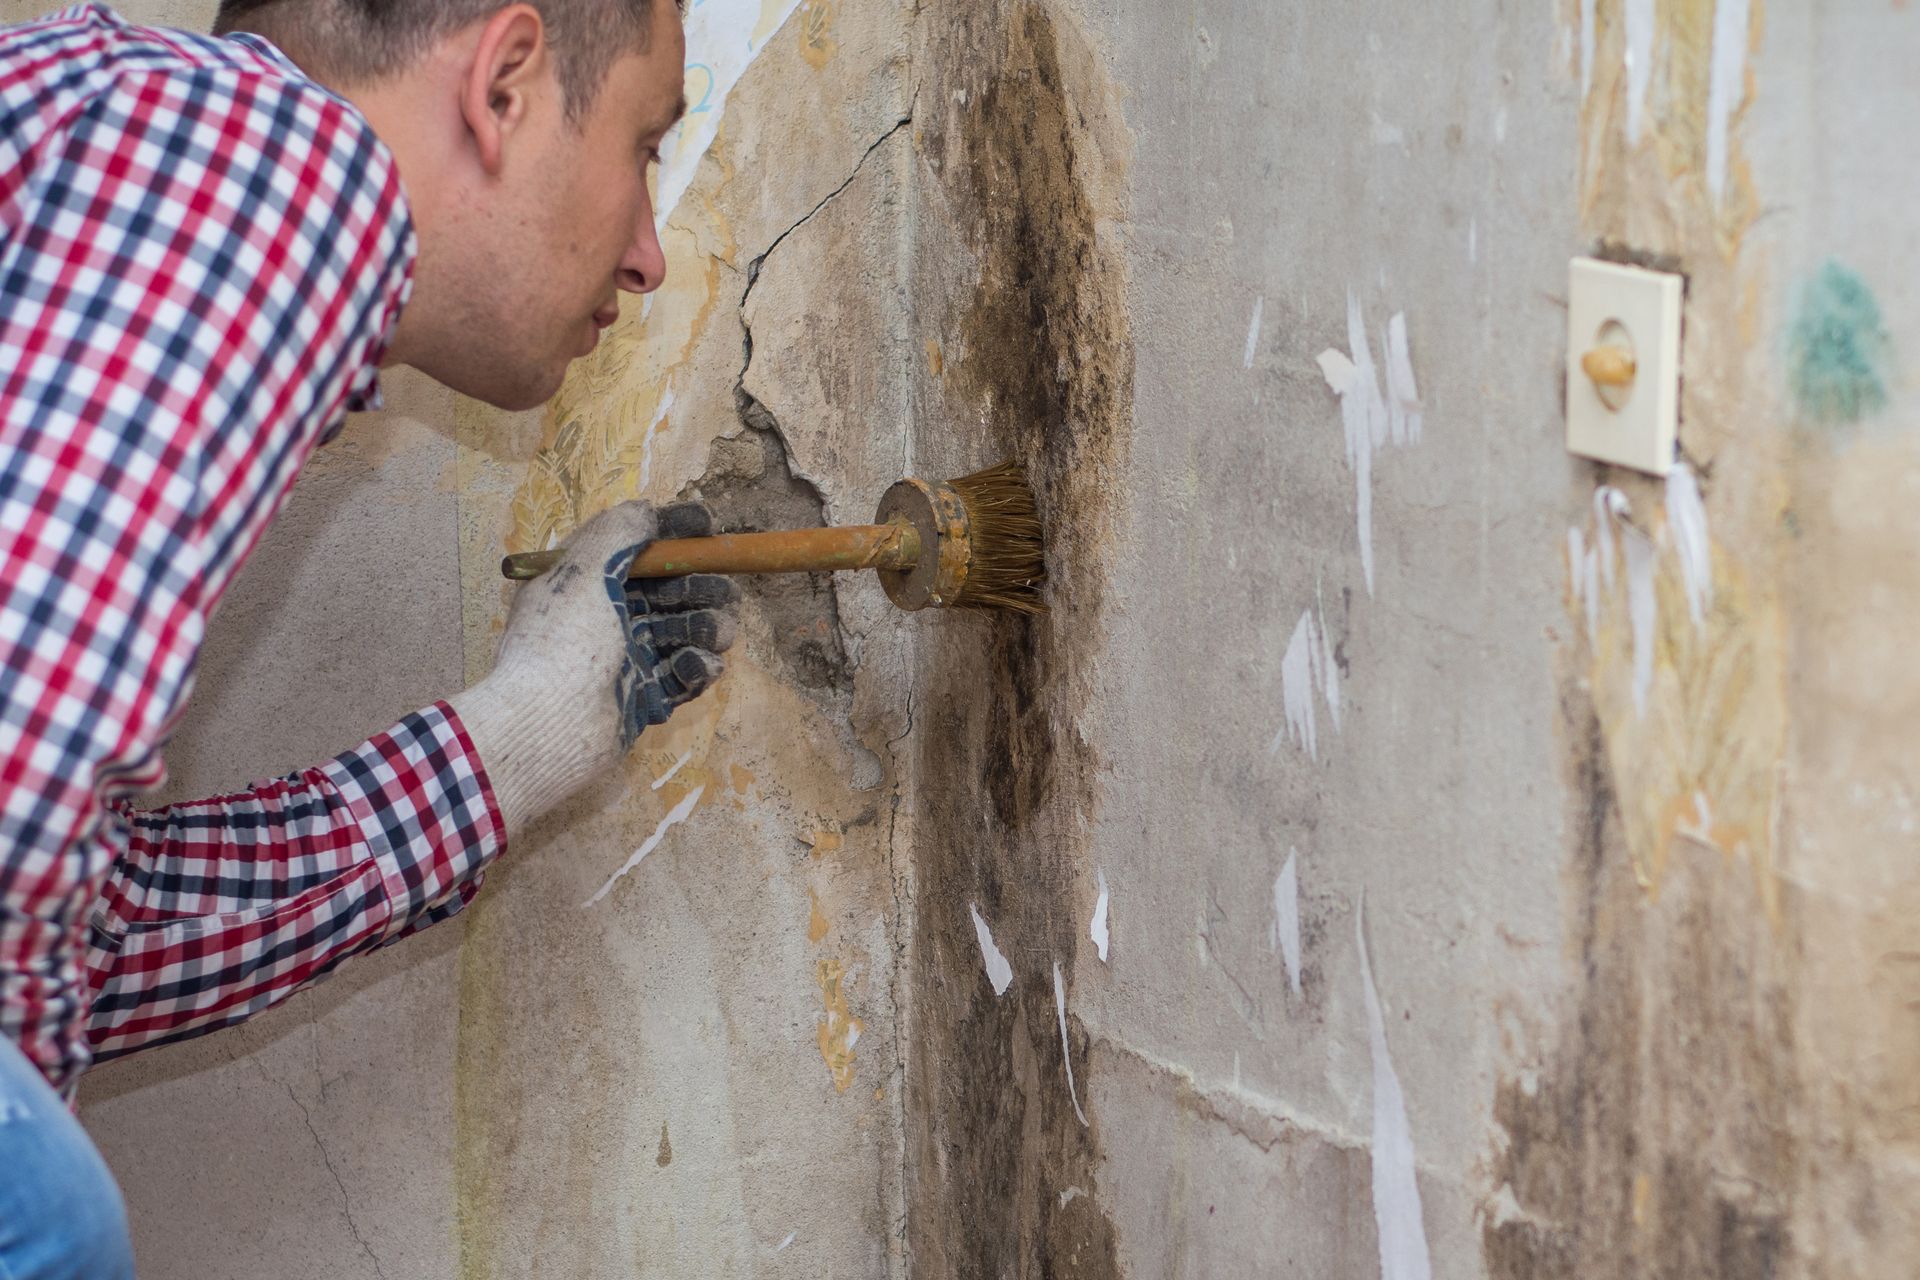
Preparing the Surface
Before the installation begins, the surface must be thoroughly cleaned and prepared. Any existing coatings or debris are removed to ensure a clean and smooth surface for the Dryvit stucco application.
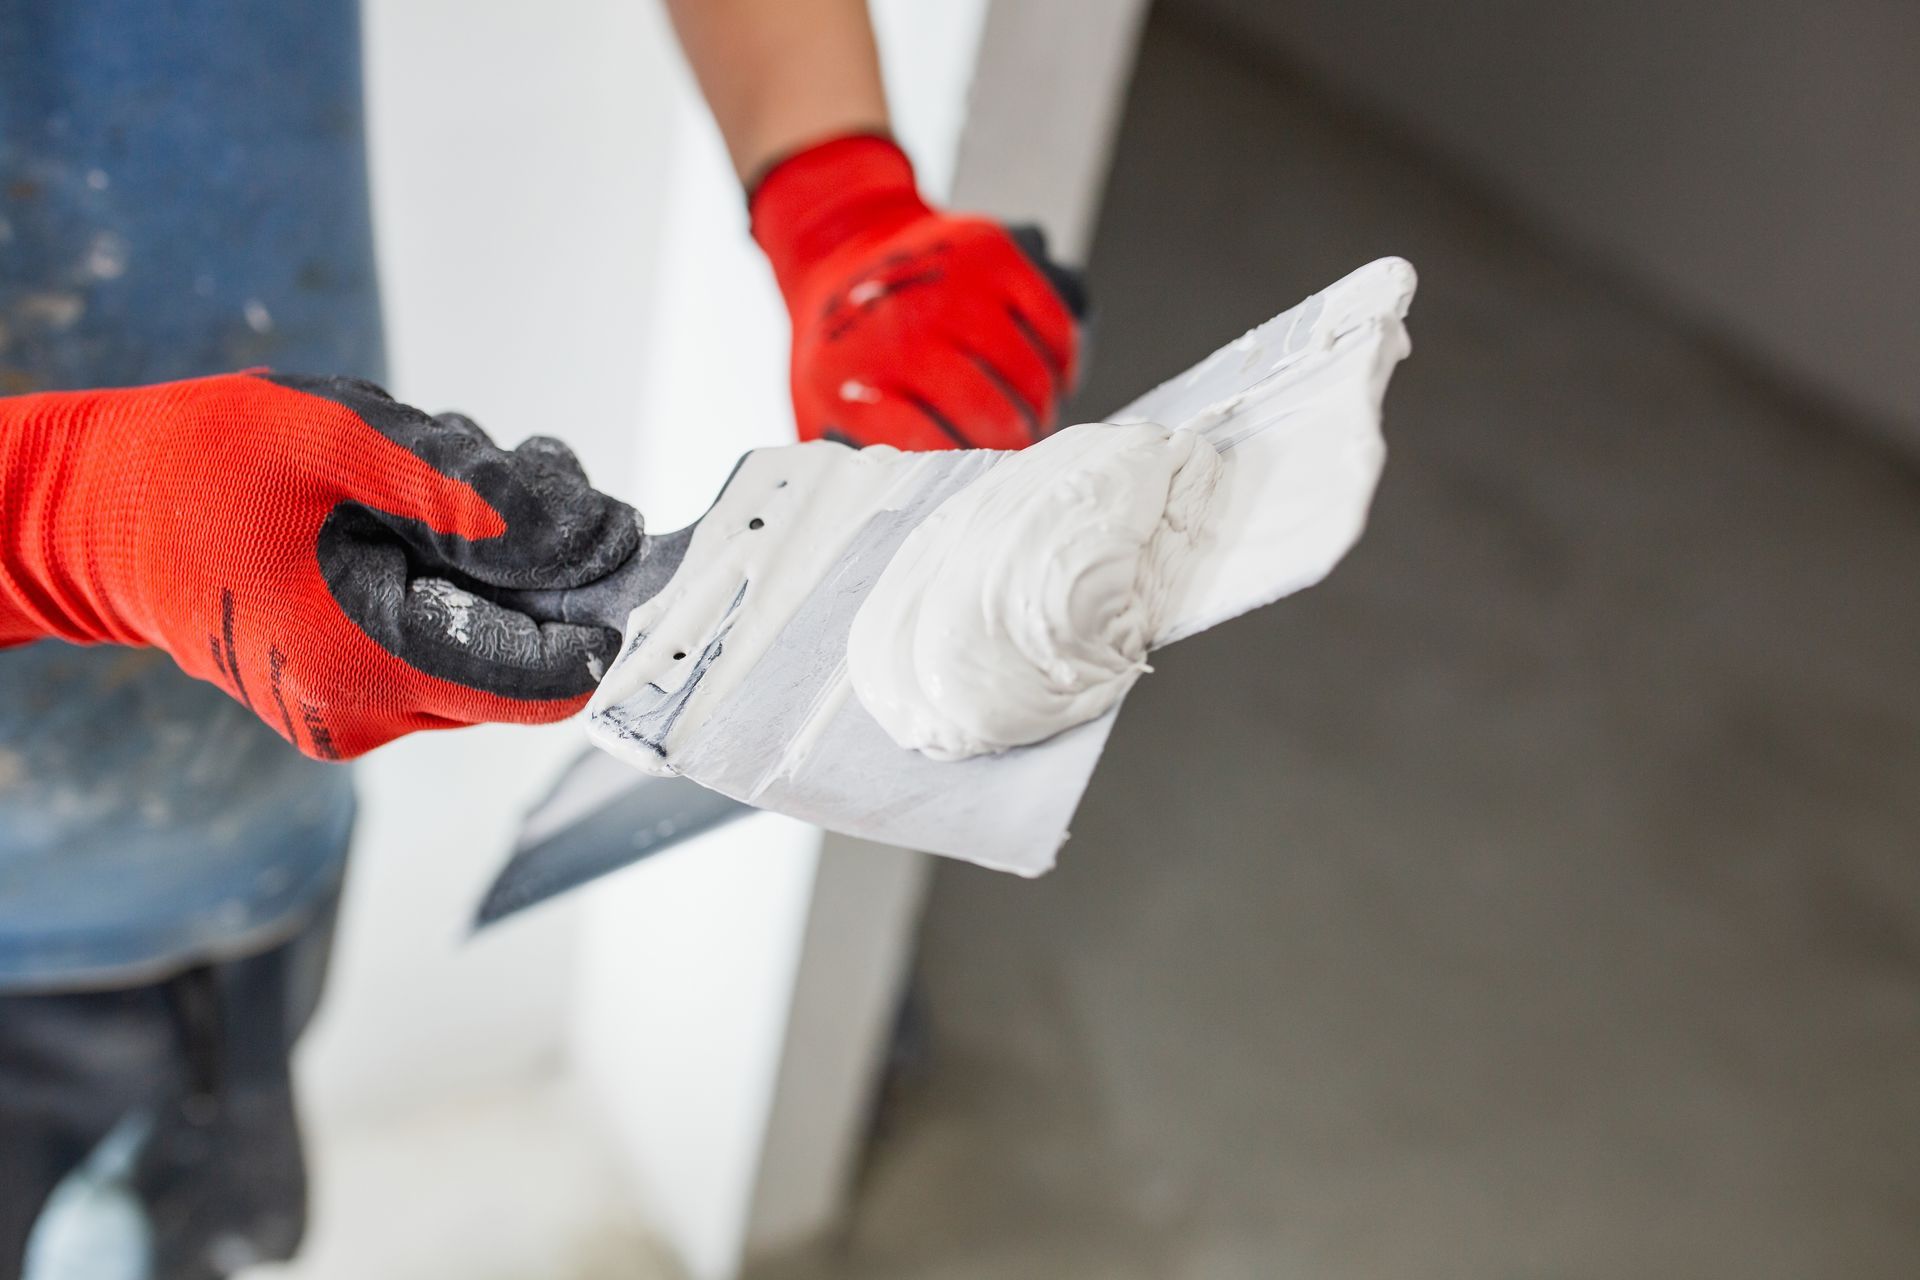
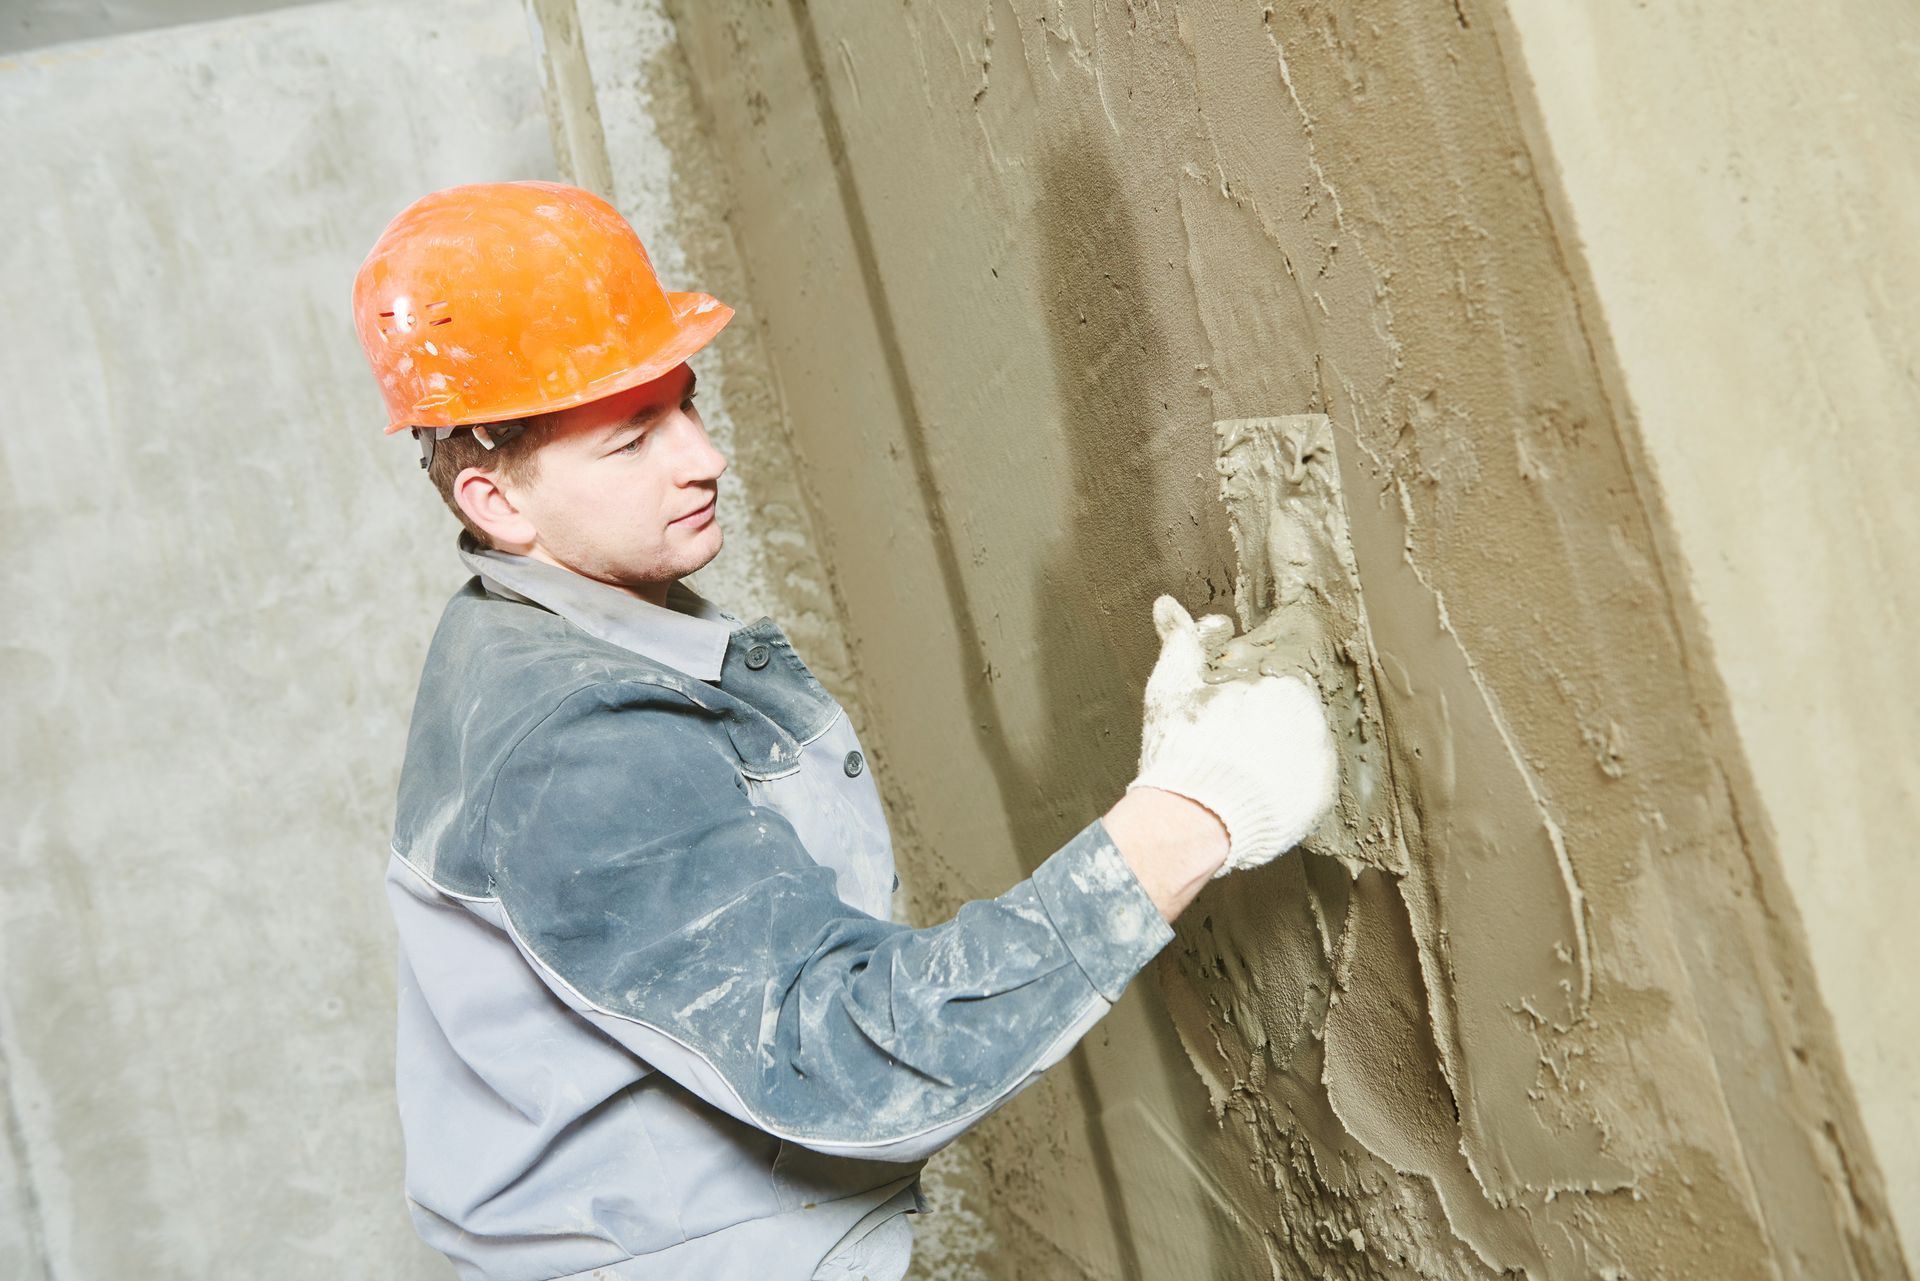
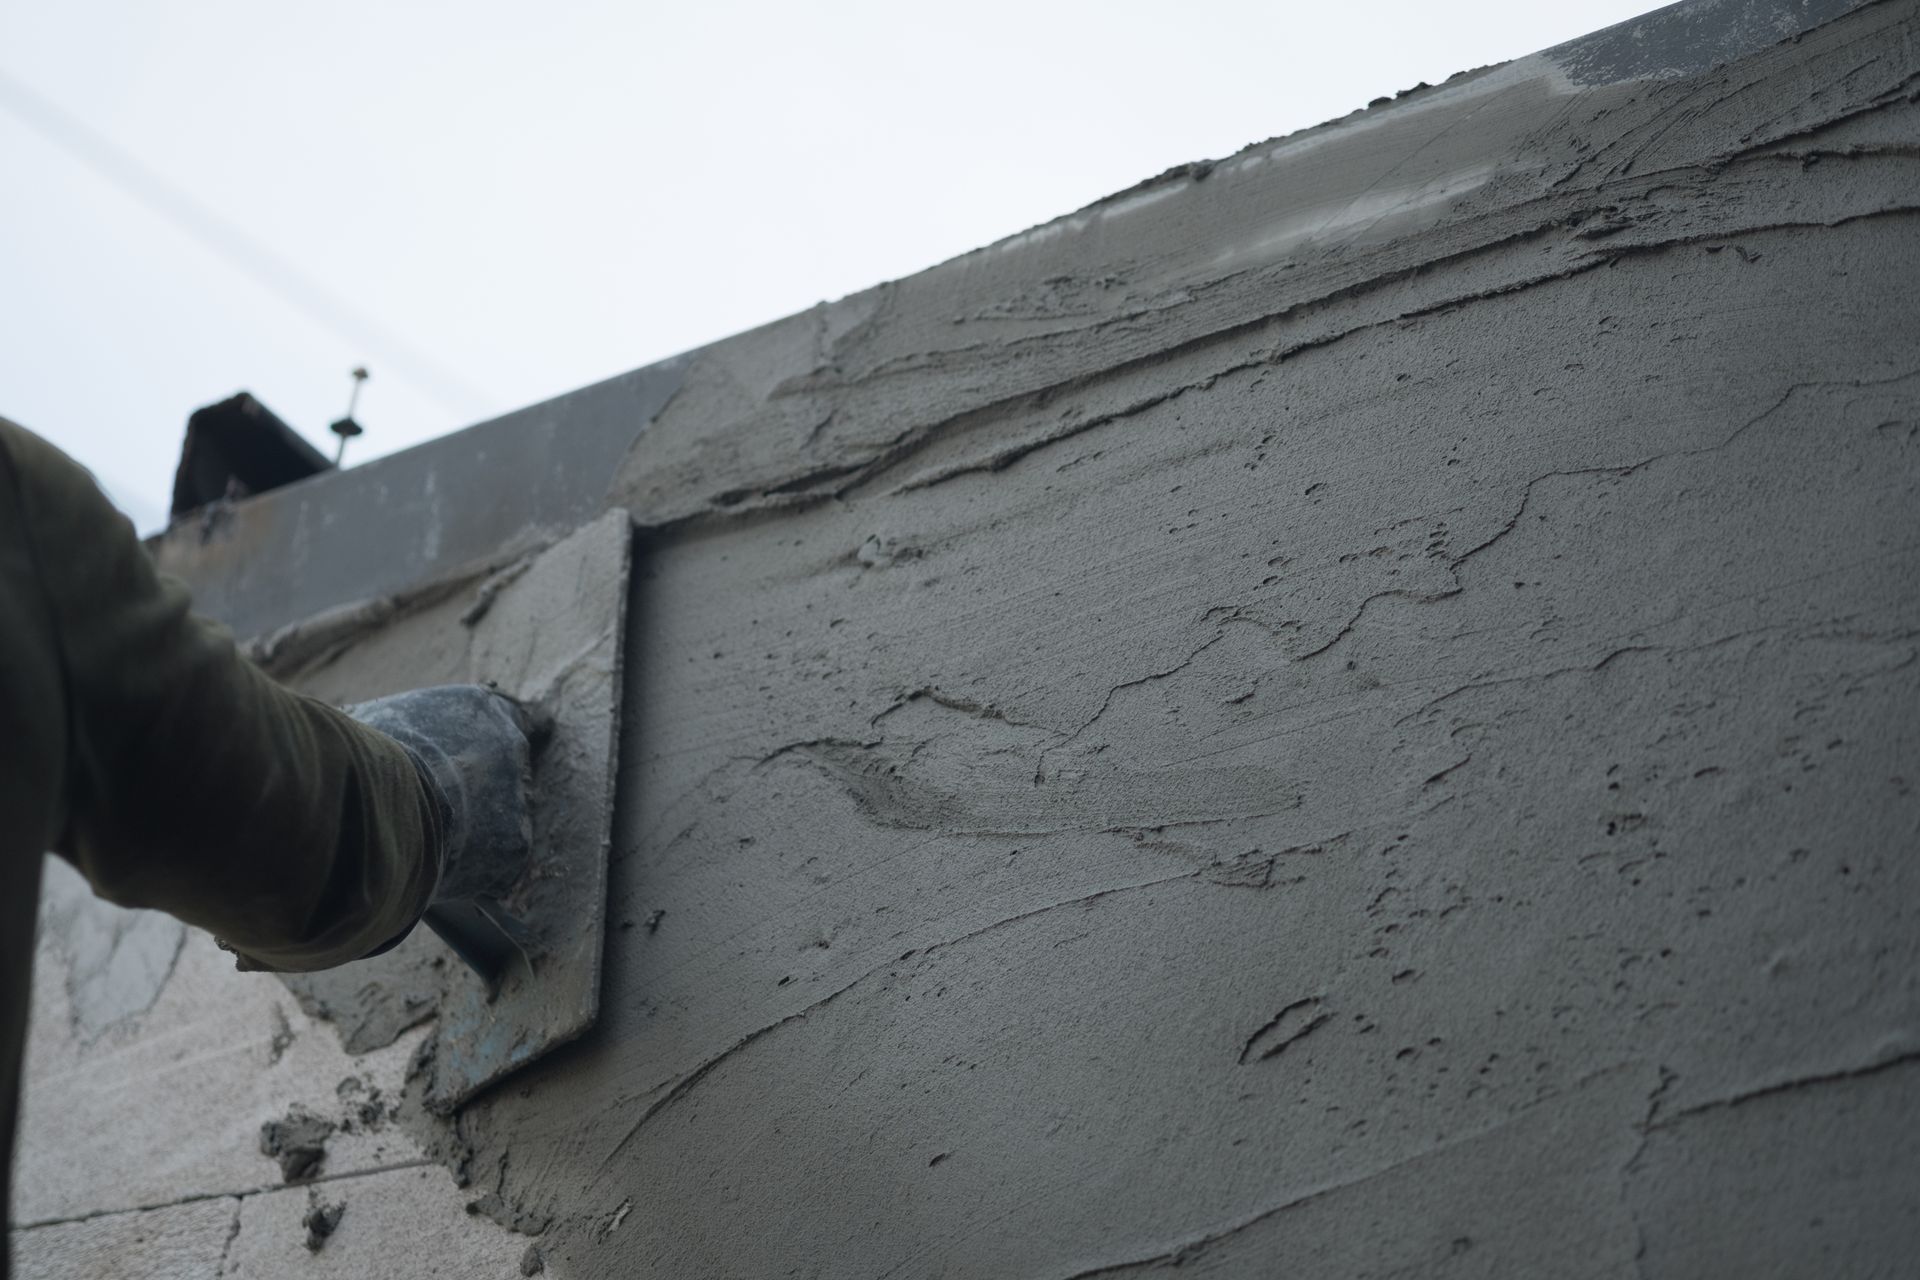
Applying the Base Coat
A base coat is applied to the prepared surface. This coat serves as the adhesive layer that holds the insulation board in place. It is important for creating a strong bond between the substrate and the subsequent layers.
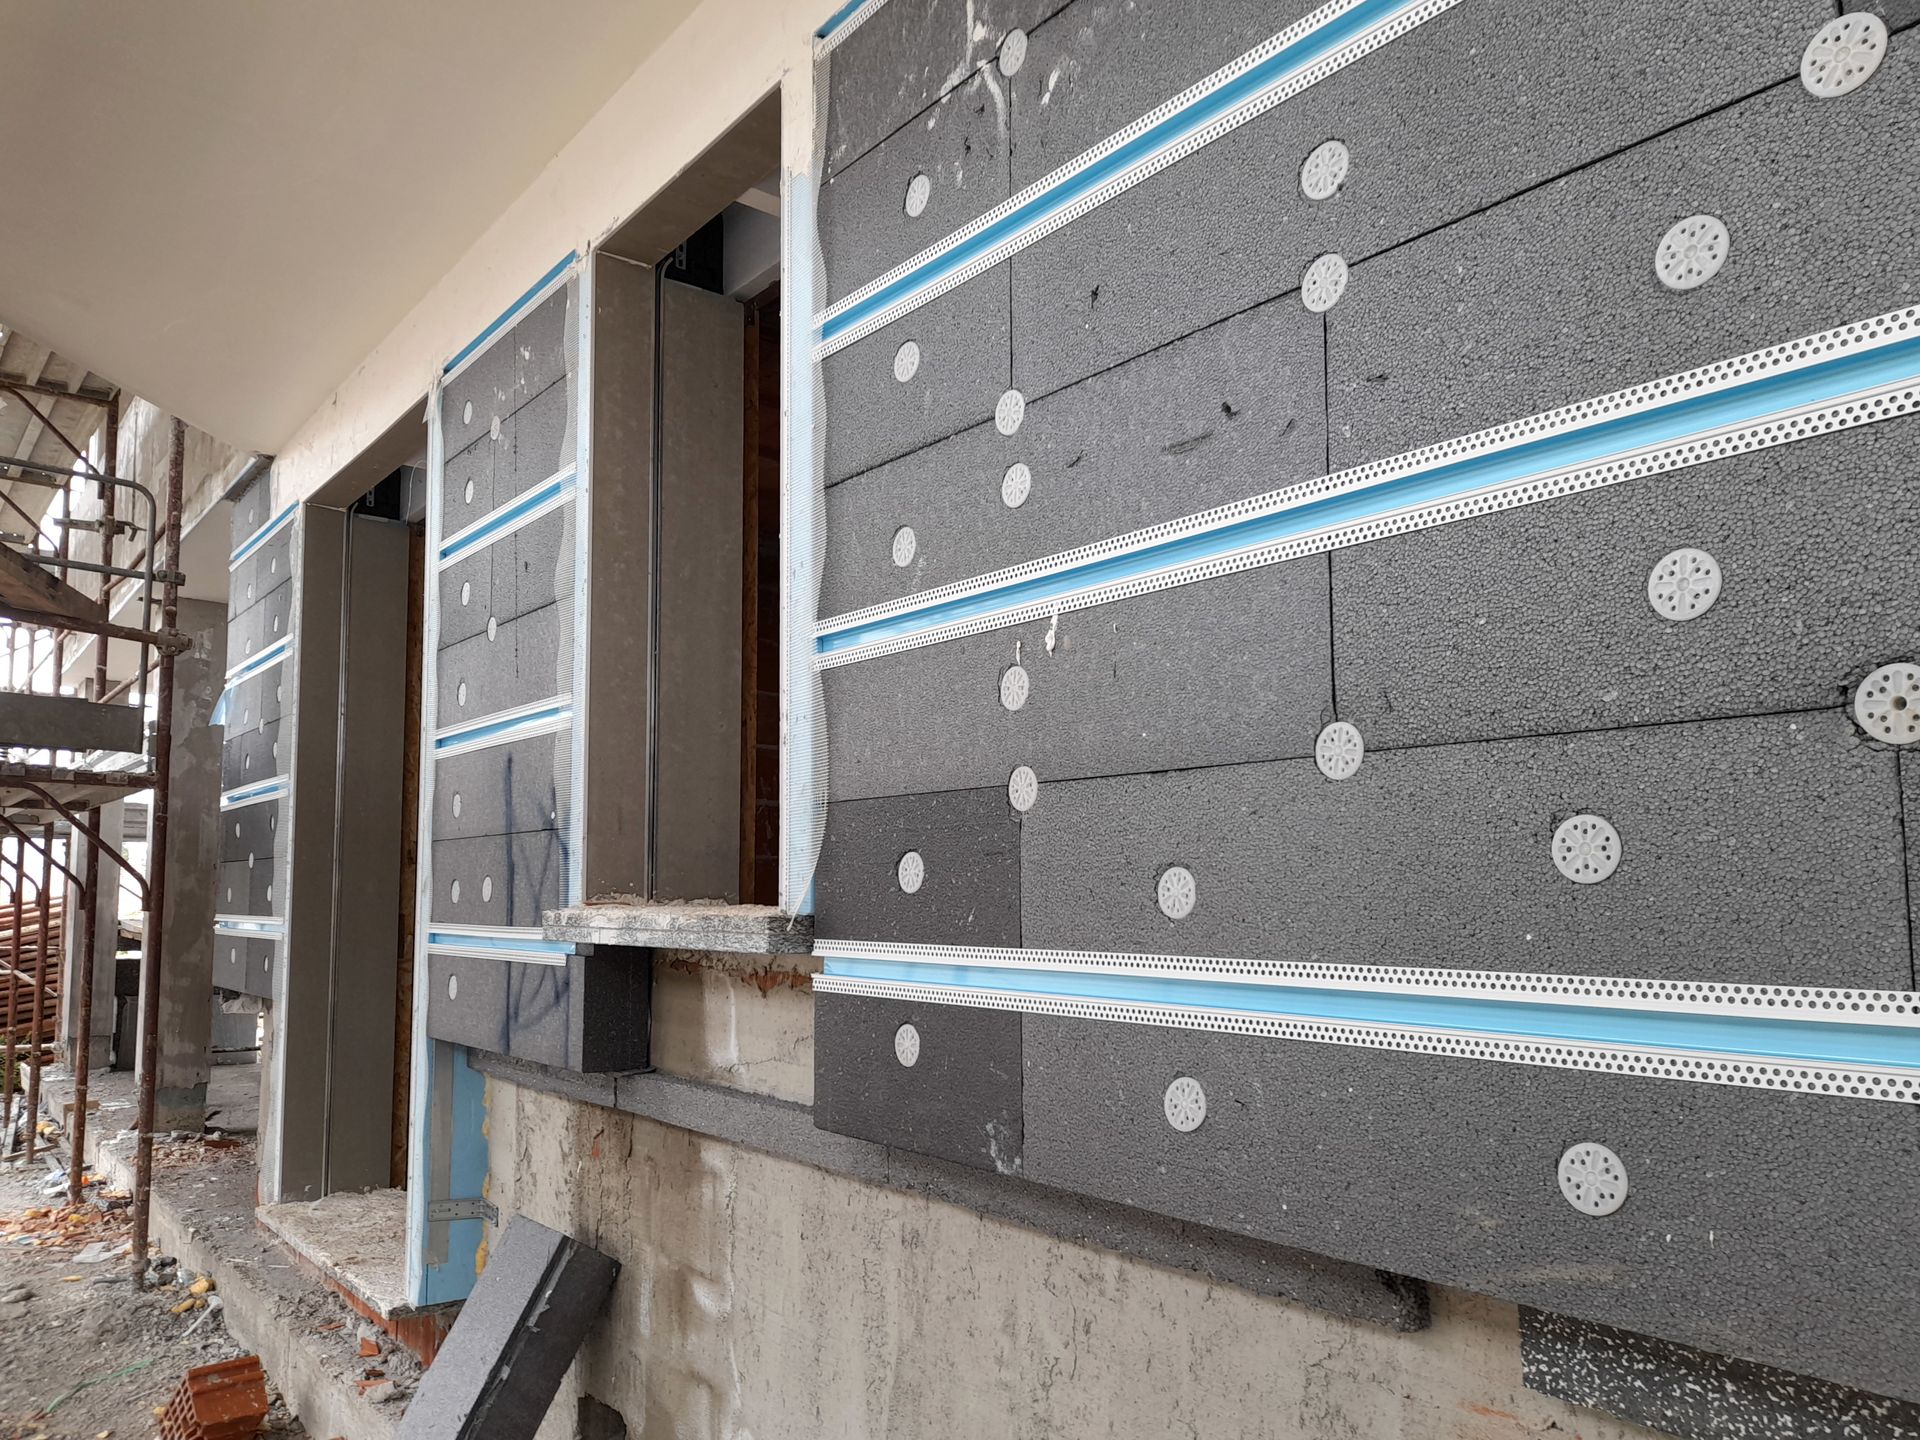
Installing Insulation Board
Insulation boards are placed onto the base coat, securely fastened to the substrate. These boards play a crucial role in improving the energy efficiency of the building by providing insulation.
Adding Reinforcement
A layer of reinforcing mesh is embedded in a second layer of base coat. This reinforcement adds strength to the system and prevents cracks from forming.
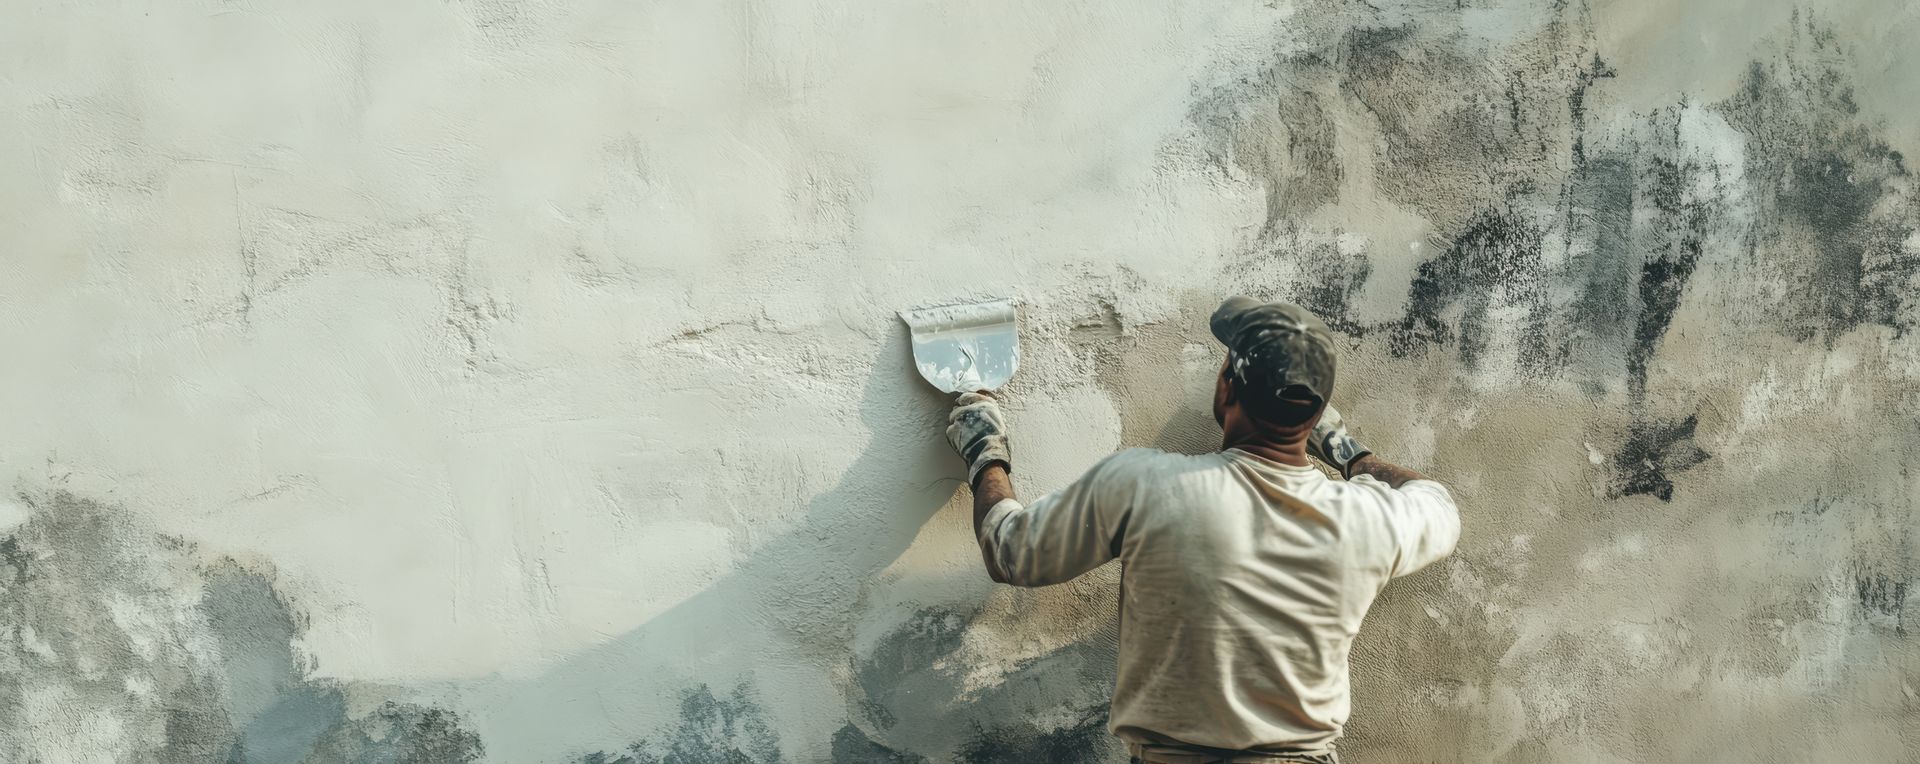
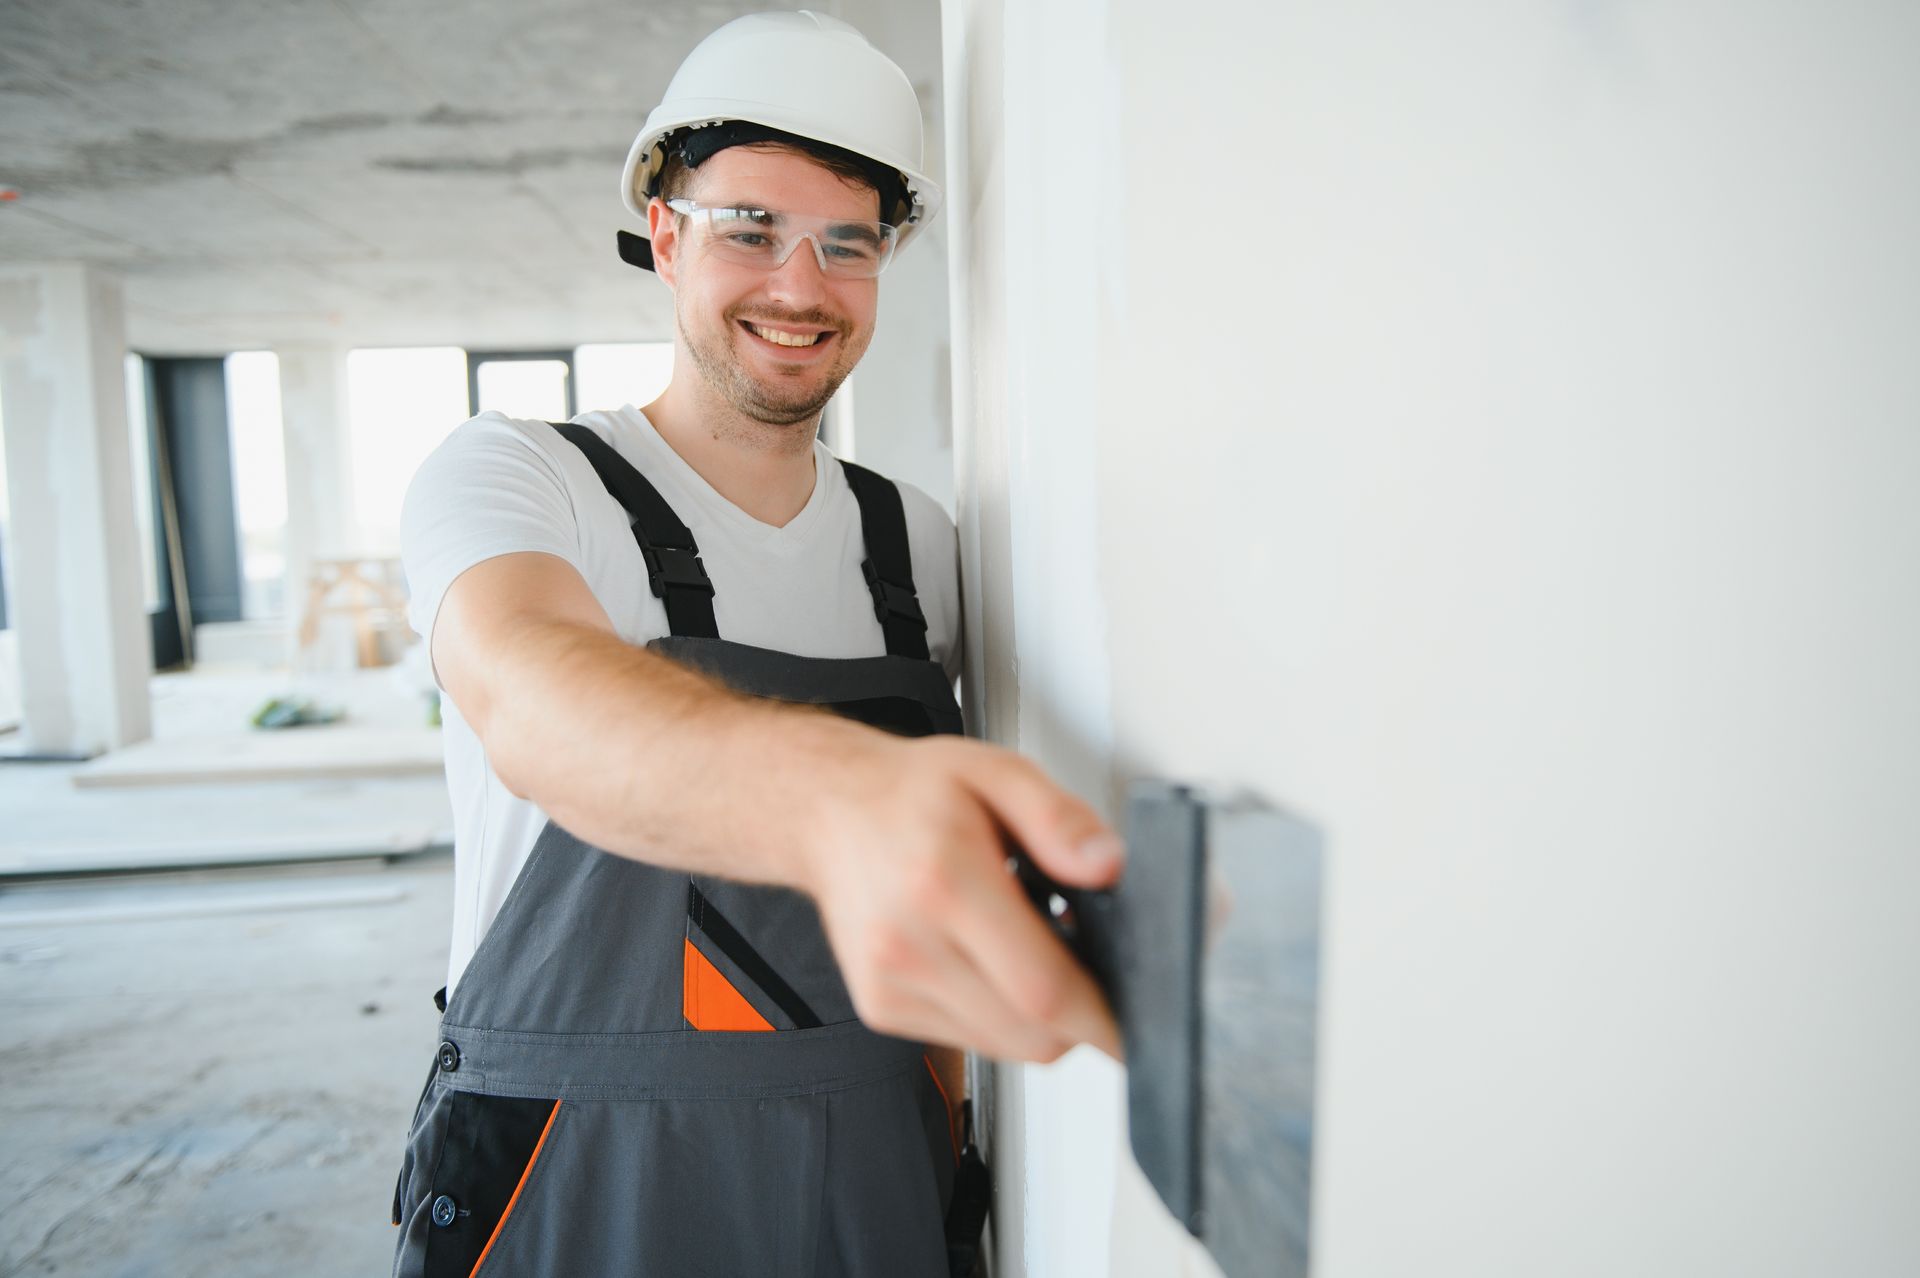
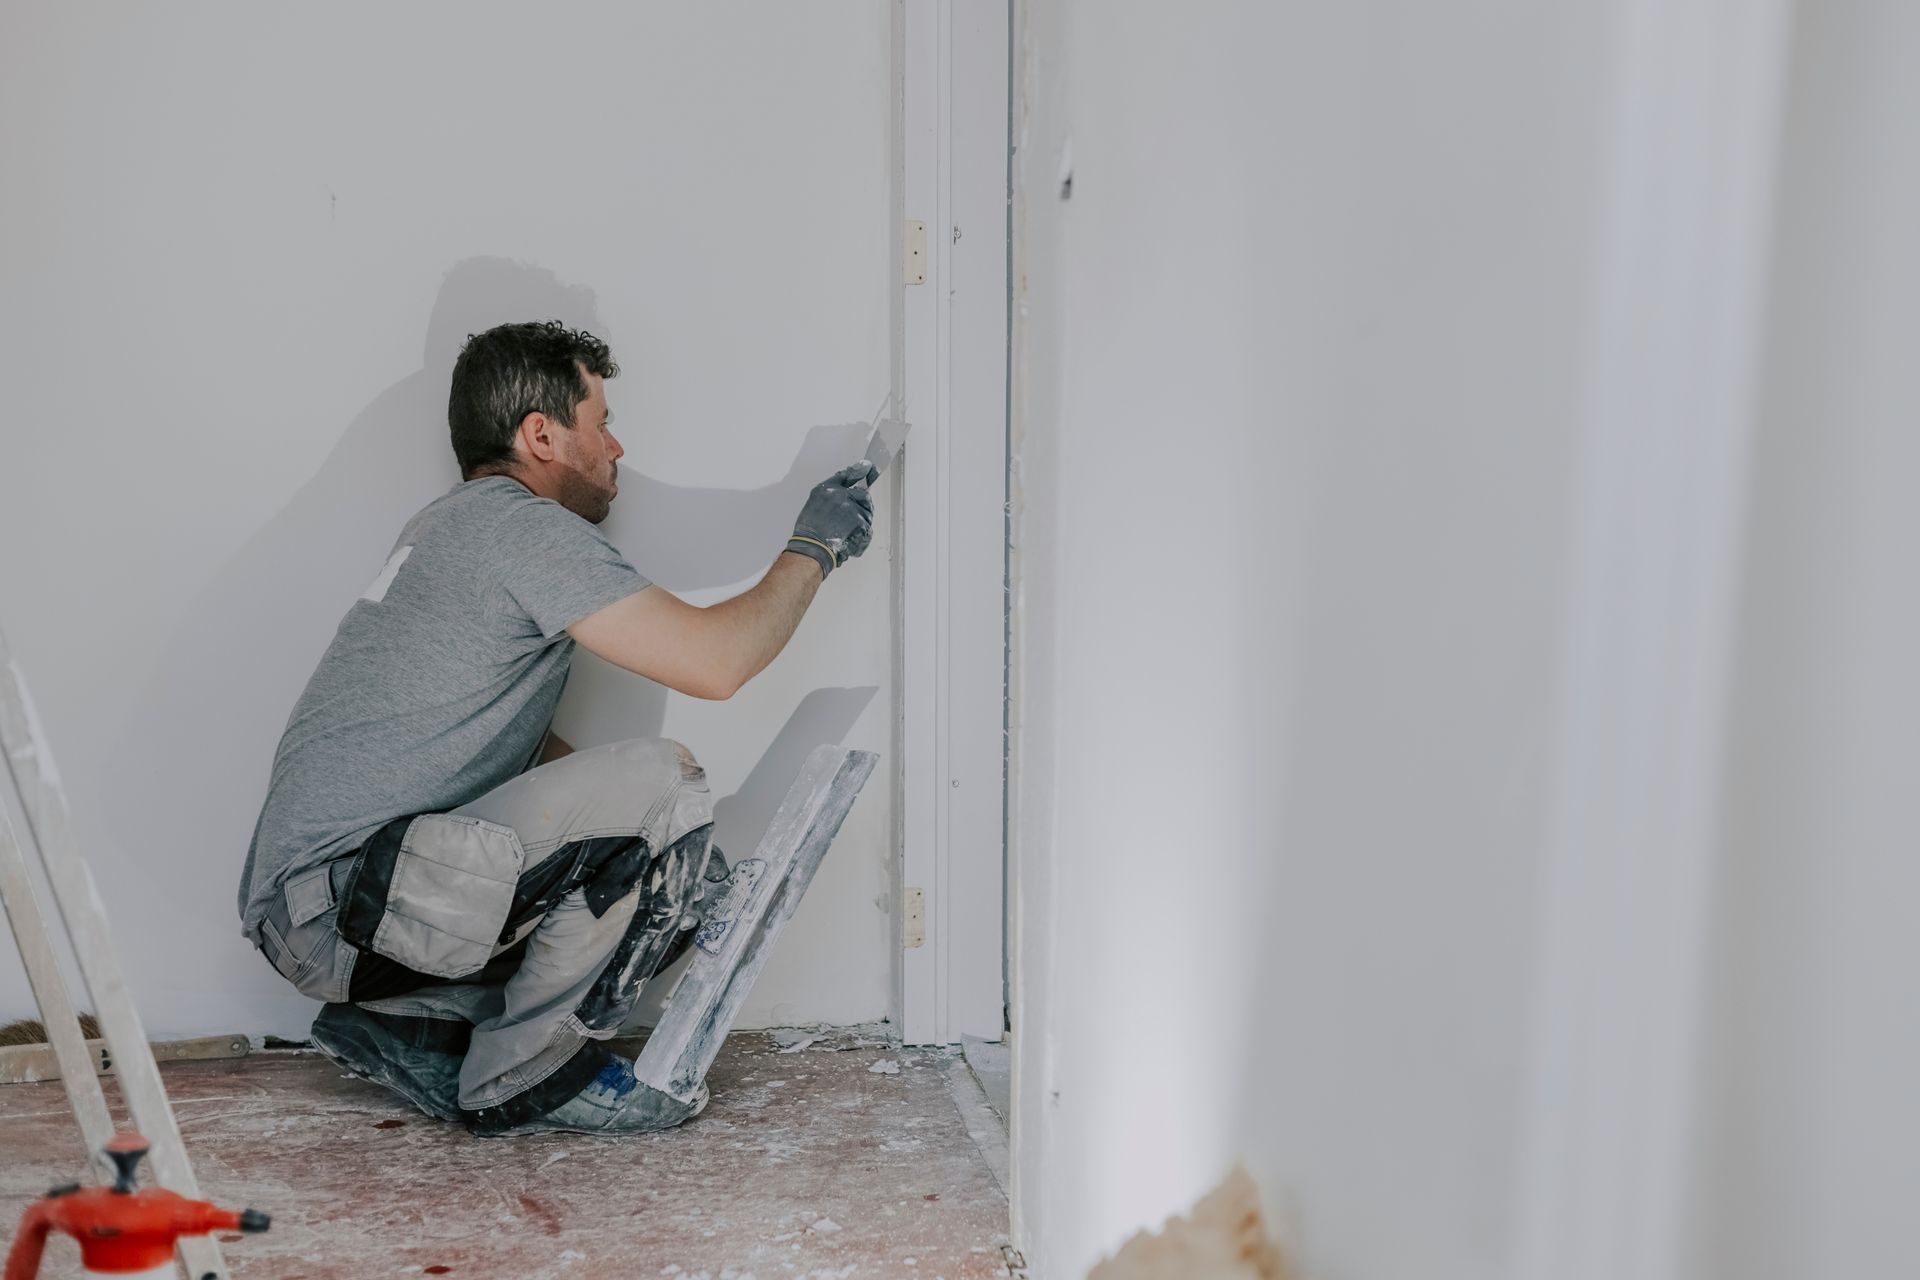
Applying Finish Coat
The final layer is the finish coat, which comes in a variety of textures and colors. This coat not only enhances the aesthetic appeal of the building but also protects the system from moisture and other environmental factors.
The Benefits of Dryvit Stucco Installation
Dryvit stucco installation offers a range of benefits that make it a popular choice for both residential and commercial properties:
- Energy Efficiency: The insulation layer in the system improves the building's energy efficiency, reducing heating and cooling costs.
- Aesthetic Appeal: With a wide array of textures and colors available, Dryvit stucco enhances the visual appeal of any building, giving it a clean and modern look.
- Durability: The system's multi-layered design and strong bonding create a durable exterior finish that can withstand various weather conditions.
- Moisture Resistance: The finish coat acts as a barrier against moisture infiltration, preventing water damage and mold growth.
- Versatility: Dryvit stucco can be applied to various substrates, including concrete, masonry, and wood, making it suitable for a range of architectural styles.
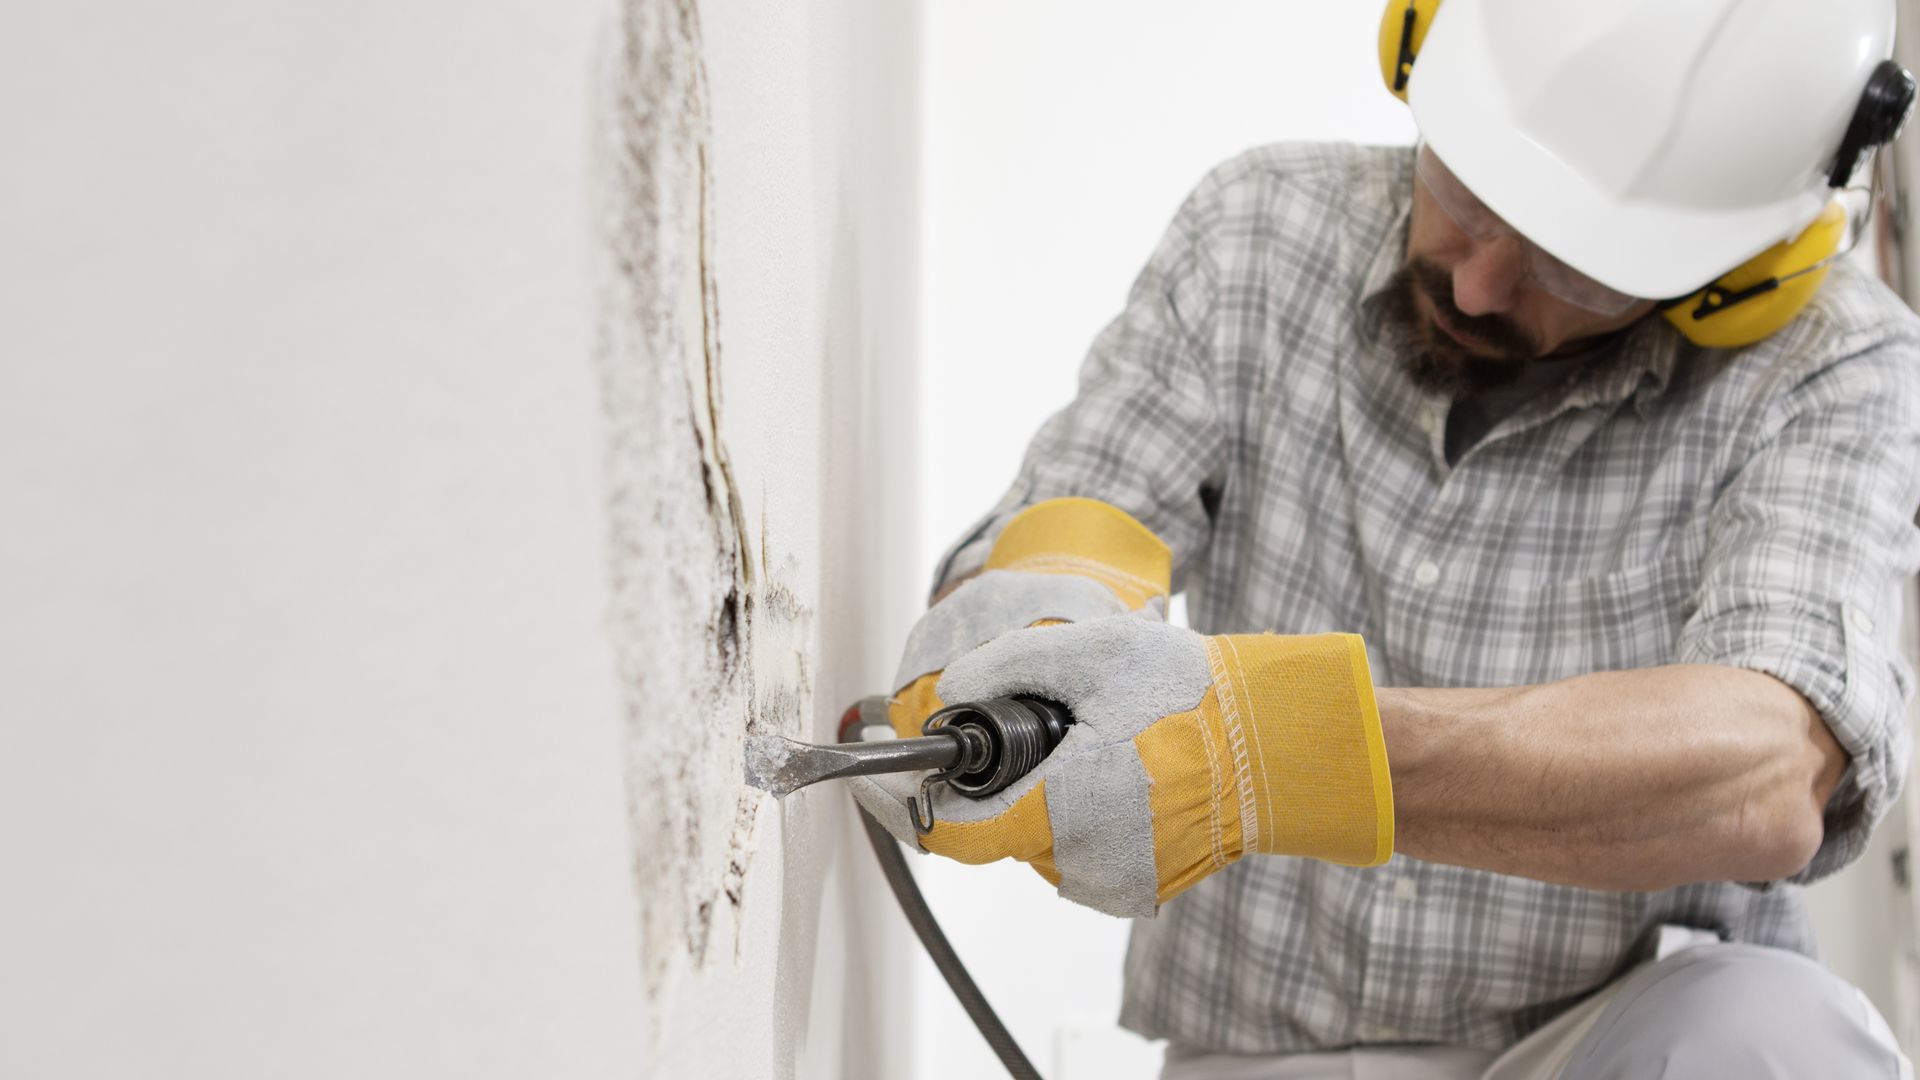
- Seamless Repairs: If damage occurs, repairs are relatively straightforward. The damaged section can be patched without affecting the entire system.
Dryvit Stucco Installation: Step-by-Step Guide
Let's take a closer look at the step-by-step process of installing Dryvit stucco:
- Surface Preparation:
- Start by thoroughly cleaning and repairing the surface. Ensure it's free from dirt, debris, and any loose materials.
- Base Coat Application:
- Apply the base coat using a trowel, covering the entire surface evenly. This coat acts as the adhesive layer.
- Insulation Board Placement:
- Securely attach the insulation boards to the base coat. Use mechanical fasteners to ensure they stay in place.
- Reinforcement Installation:
- Embed a layer of reinforcing mesh into a second coat of base material. This provides structural integrity and prevents cracks.
- Finish Coat Application:
- Apply the finish coat using a trowel, achieving the desired texture and appearance. This layer protects the system and enhances aesthetics.
- Curing Time:
- Allow sufficient time for each layer to cure before proceeding to the next step. This ensures a strong and durable installation.
- Finishing Touches:
- Inspect the installation for any imperfections or inconsistencies. Make necessary touch-ups and repairs to achieve a flawless finish.
FAQs about Dryvit Stucco Installation
Q: Is Dryvit stucco suitable for all climates?
A: Yes, Dryvit stucco is designed to perform well in various climates. Its insulation properties contribute to energy efficiency in both hot and cold weather.
Q: How long does a Dryvit stucco installation typically last?
A: With proper maintenance, a well-installed Dryvit stucco system can last for several decades.
Q: Can I install Dryvit stucco myself, or should I hire a professional?
A: While some experienced DIYers might be able to handle the installation, hiring a professional is recommended to ensure a correct and durable installation.
Q: Are there any maintenance requirements for Dryvit stucco?
A: Regular cleaning and visual inspections are recommended. Address any repairs promptly to prevent further damage.
Q: Can I change the color of my Dryvit stucco after it's installed?
A: Yes, you can change the color of your Dryvit stucco by applying a new finish coat in the desired color.
Q: Does Dryvit stucco contribute to energy savings?
A: Absolutely. The insulation layer in Dryvit stucco improves the building's energy efficiency, leading to potential savings on heating and cooling costs.
Conclusion
Dryvit stucco installation offers a winning combination of aesthetics, durability, and energy efficiency. Its multi-layered system, from the base coat to the finish layer, ensures a strong and attractive exterior finish that can stand the test of time. Whether you're looking to enhance your building's curb appeal or improve its insulation properties, Dryvit stucco is a versatile and effective choice.
Remember, a successful installation requires careful attention to detail and expertise. If you're considering Dryvit stucco for your property, it's wise to consult with a professional contractor who can ensure a flawless installation and years of enjoyment.